Install and Configure GladeKit
Install GladeKit
- On our website, press the Try for Free button to download and install the GladeKit application for your operating system. Note that you may get a warning from your anti-virus simply because our application is still new (our app is secure and not a virus).
- For Mac users, run the DMG and drag the application to your Applications folder.
- For Windows users, run the installer and it will automatically install and open the application. (Installs in your
AppData\Local\gladekitfolder and is searchable in your Start Menu)
Configure GladeKit
- Open the GladeKit application and Sign In or Sign Up for a GladeKit account.
- Open the Unity project you would like to setup GladeKit for. After the Unity project is open, press Install Plugin in the GladeKit application to link GladeKit with your project.

- When the link is complete, re-focus your Unity project, and once everything compiles installation is complete.
Start Building
In the Chat Window, type anything and press Enter to see GladeKit start building.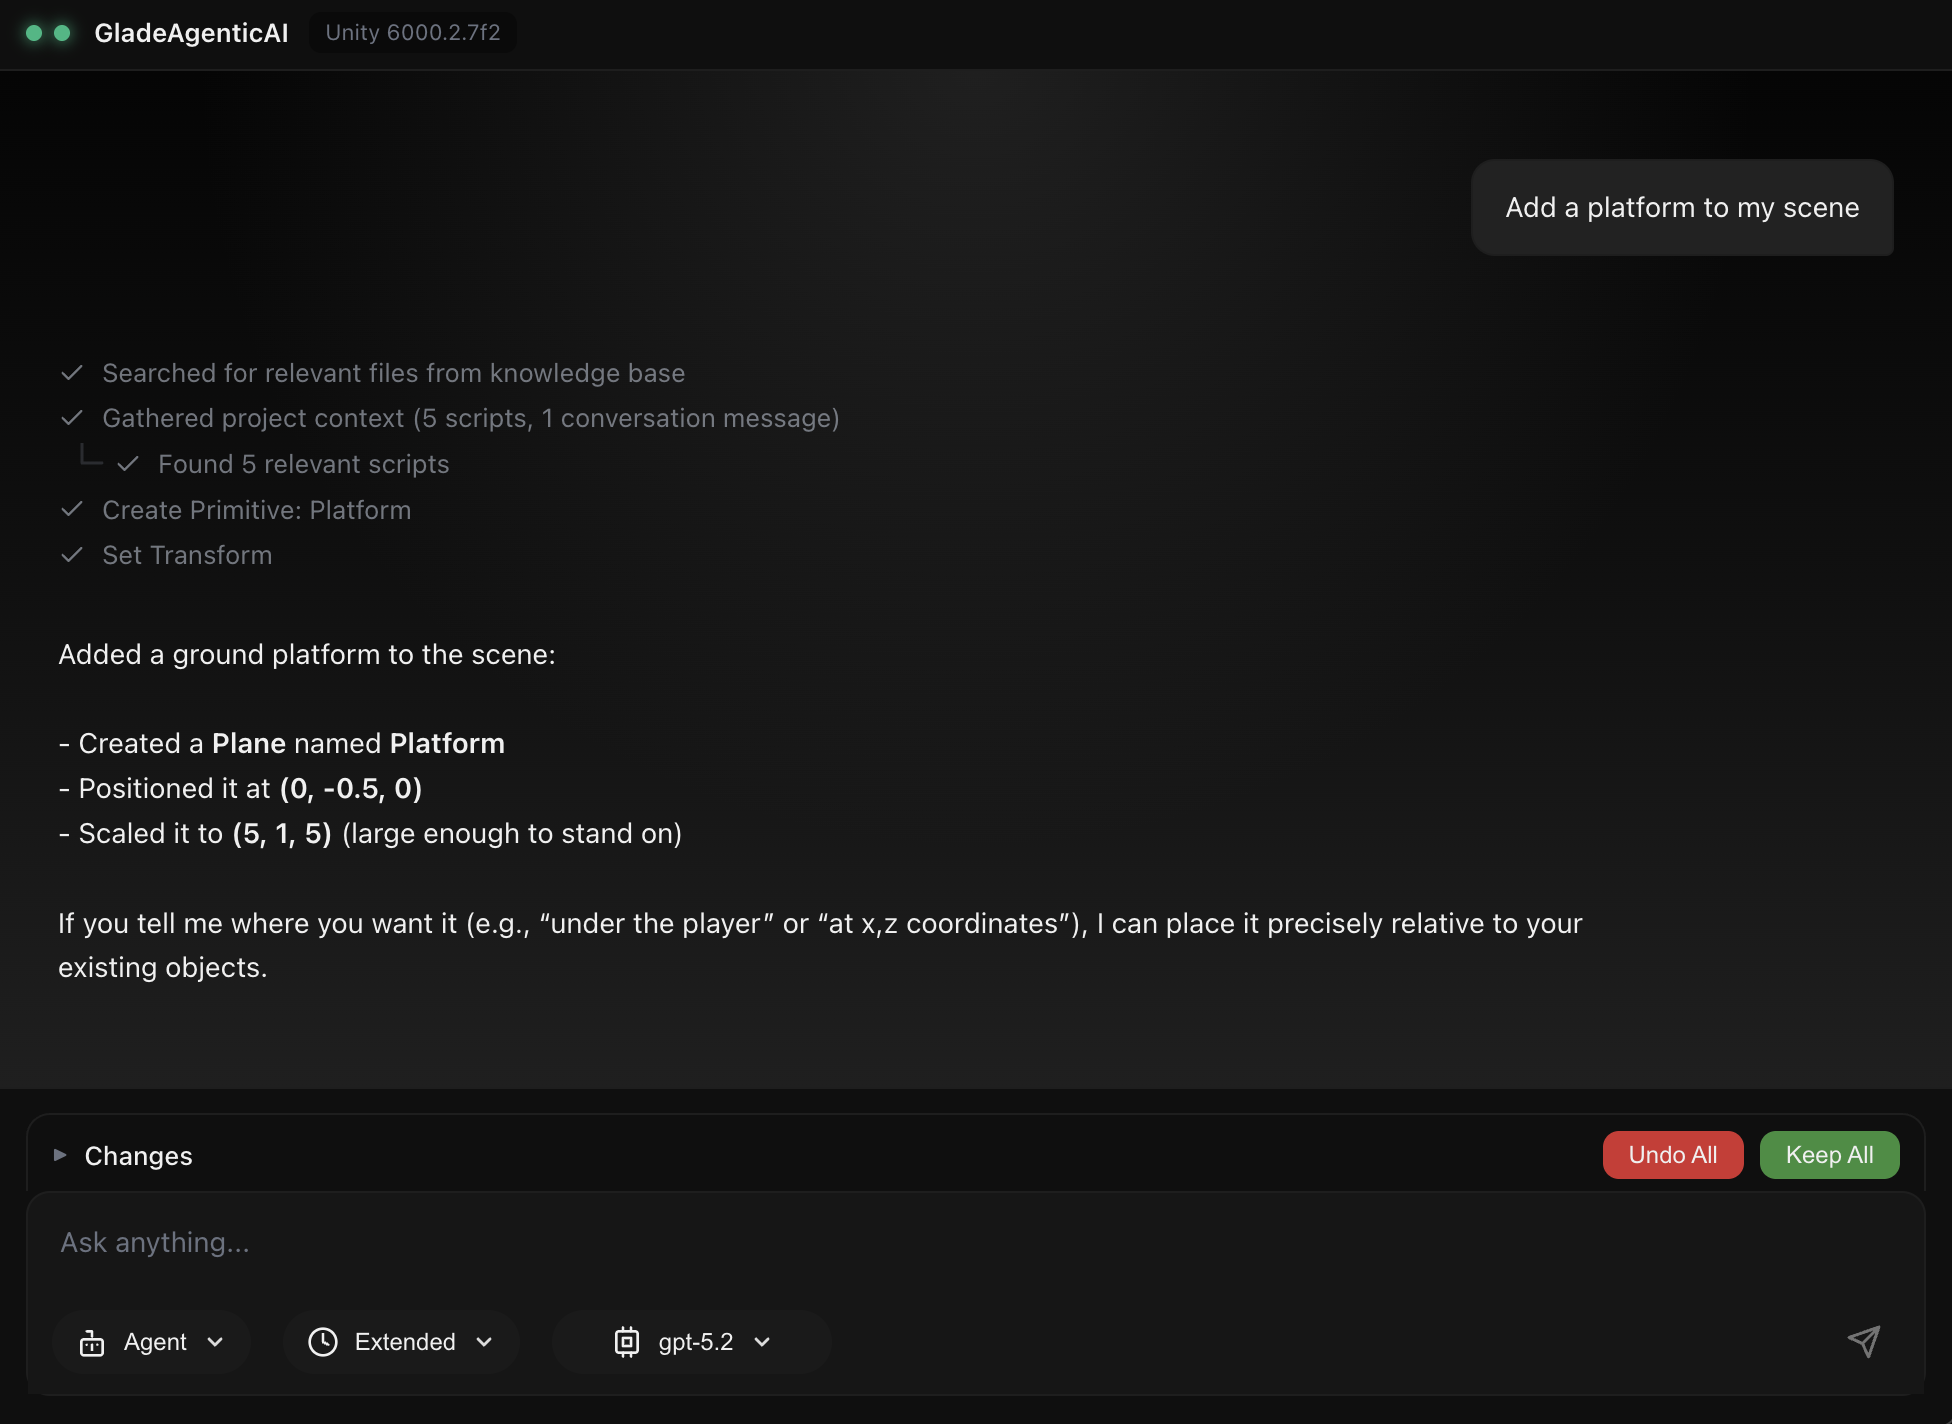
Next Steps
Now that you have GladeKit running, click below to explore these key features:Basic Usage
Learn the basics of how to use the AI assistant
Agent Modes
Learn about how you can use different agent modes depending on your goal
Thinking Modes
Choose how thoroughly your AI assistant researches and answers
Prompting Guide
Tips on how to prompt to get best responses from GladeKit
Need help? Join our Discord.