Get familiar with GladeKit’s layout and how to use the main chat area.

Project Status Bar

At the top of the app you’ll see the project status bar. The current chat name is shown - use the + icon to open a new chat. The left dot is the Unity plugin connection; the right dot is the GladeKit backend - these should both be green for the app to work.
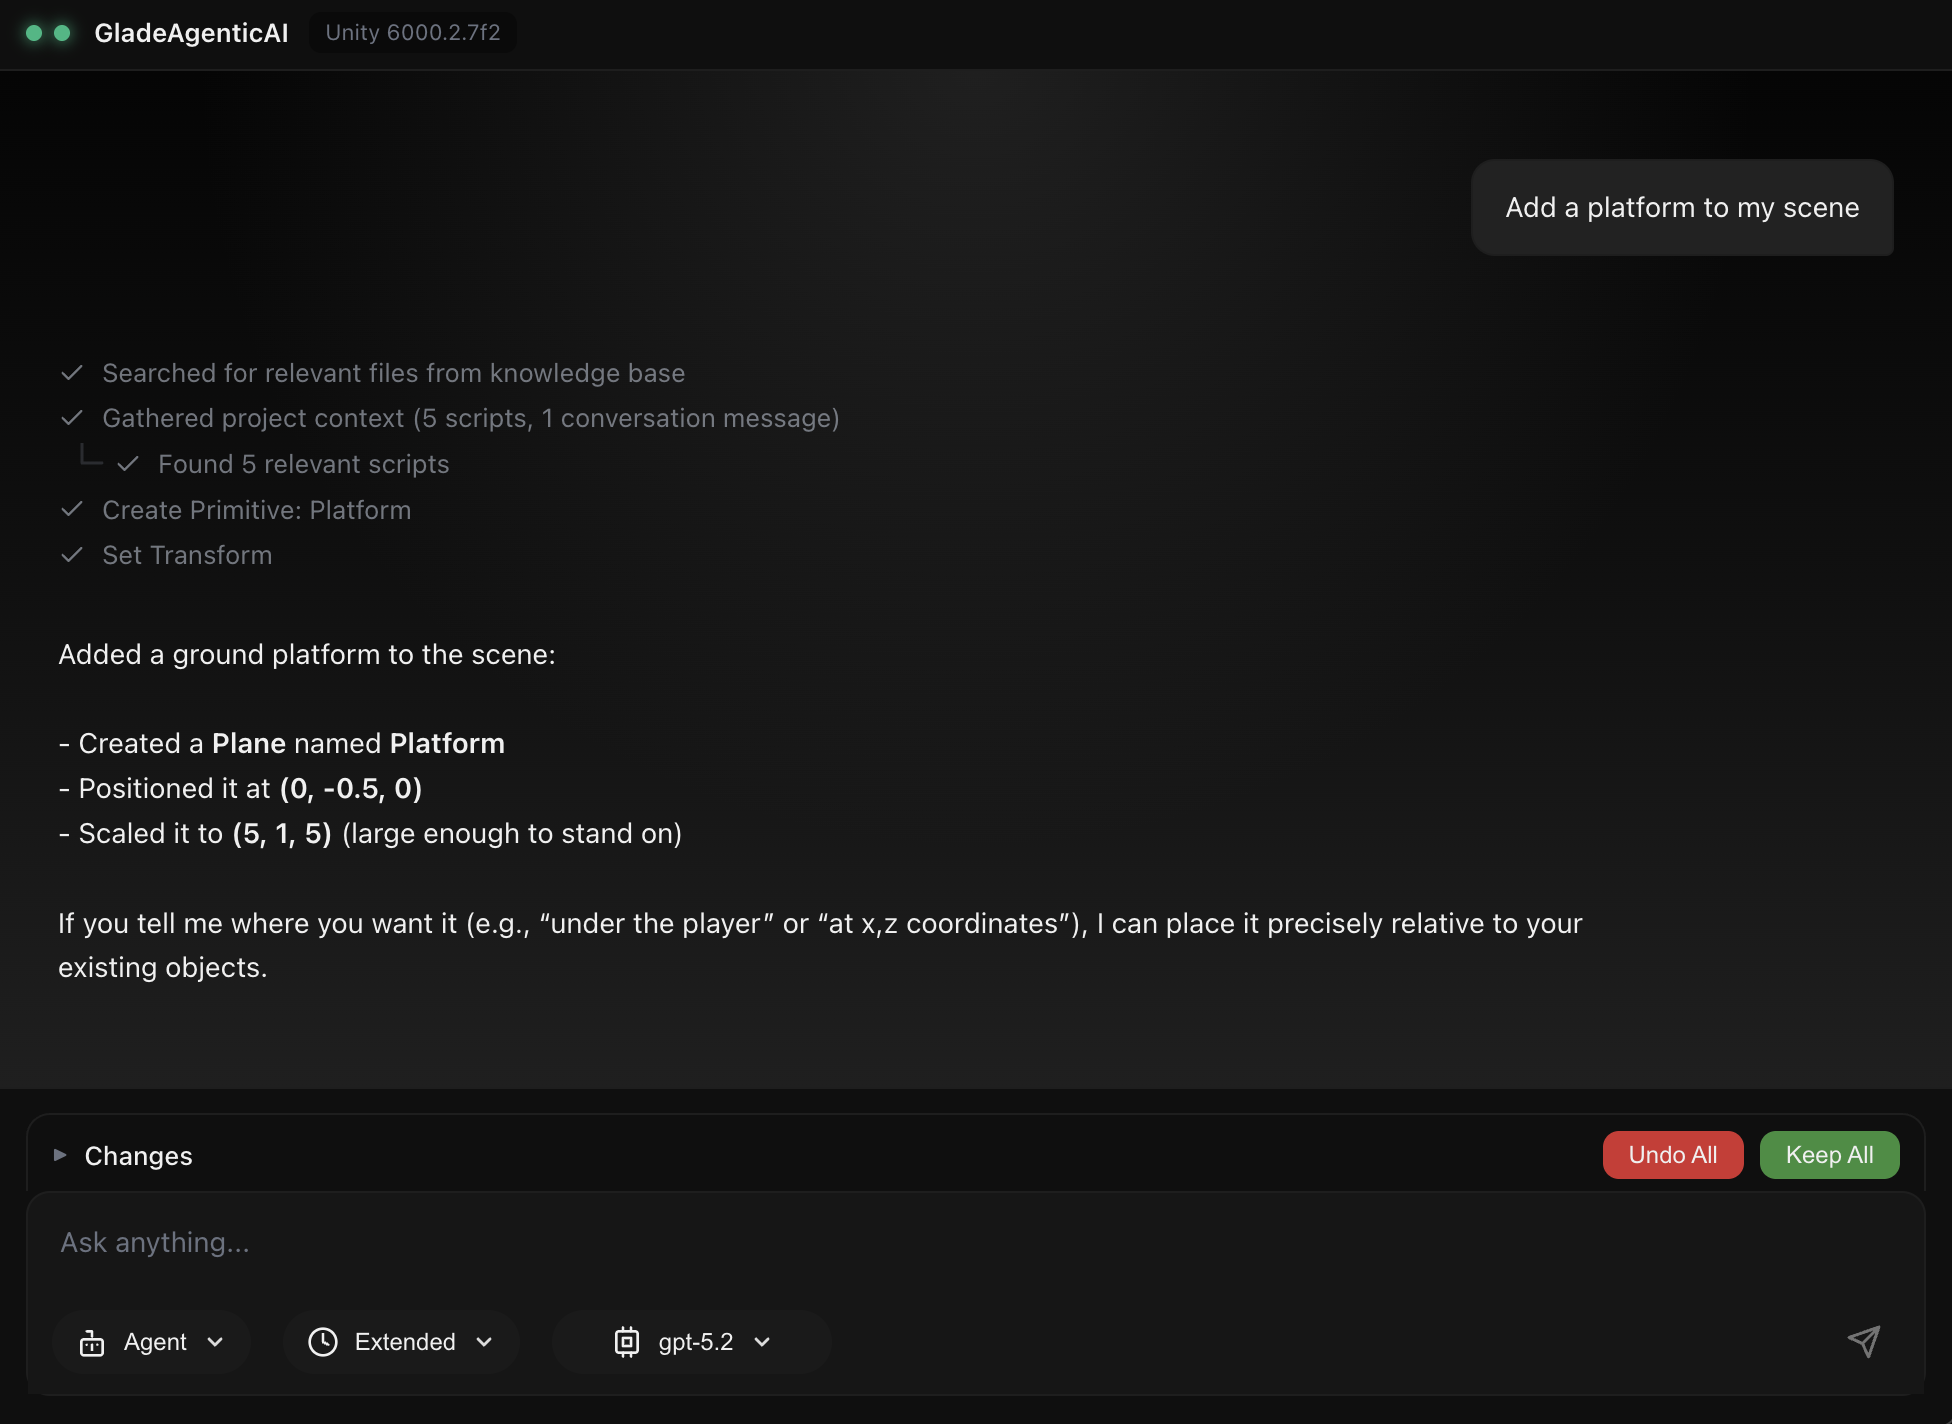
App Project Status Bar
Below the status bar is the main chat area.

Chat Window

Type in the input area and send; the AI responds and acts according to the Agent Mode you have selected. The Changes section can be expanded - when the agent makes changes in Unity, it lists them and lets you Keep All or Undo All.
App Example Chat Add Platform
To learn more about our Agent Modes, Thinking Modes, and Model Options, see the next few sections.

User Settings

Open the settings window by pressing the Settings gear icon on the left hand side. Here, you can update the theme of the app and find various other useful settings, such as changing the models that are available to select from in the model options of the chat bar.